Bleed & safe area calculator
A free print bleed studio: build a to-scale template with bleed, trim and safe area marked, or drop your own artwork and let it add the bleed for you. Layered, print-ready files in your browser, nothing uploaded.
BleedTrim (cut)Safe area
2. Add bleed to your own artwork
Drop a finished design and get a branded, print-ready PDF with the bleed added around it, on its own layer. Photos get their edges extended automatically; vector PDF and SVG keep true scale. Everything runs in your browser, nothing is uploaded.
Drop your artwork here
PDF, SVG, PNG or JPEG · or click to browse
The branded PDF keeps bleed, trim and crop marks on separate, named layers. The artwork downloads are just your design with the bleed added, no marks.
What bleed, trim and safe area actually mean
Three lines, three jobs. Get them right and your print comes back clean; get them wrong and you get a white edge or a chopped-off logo.
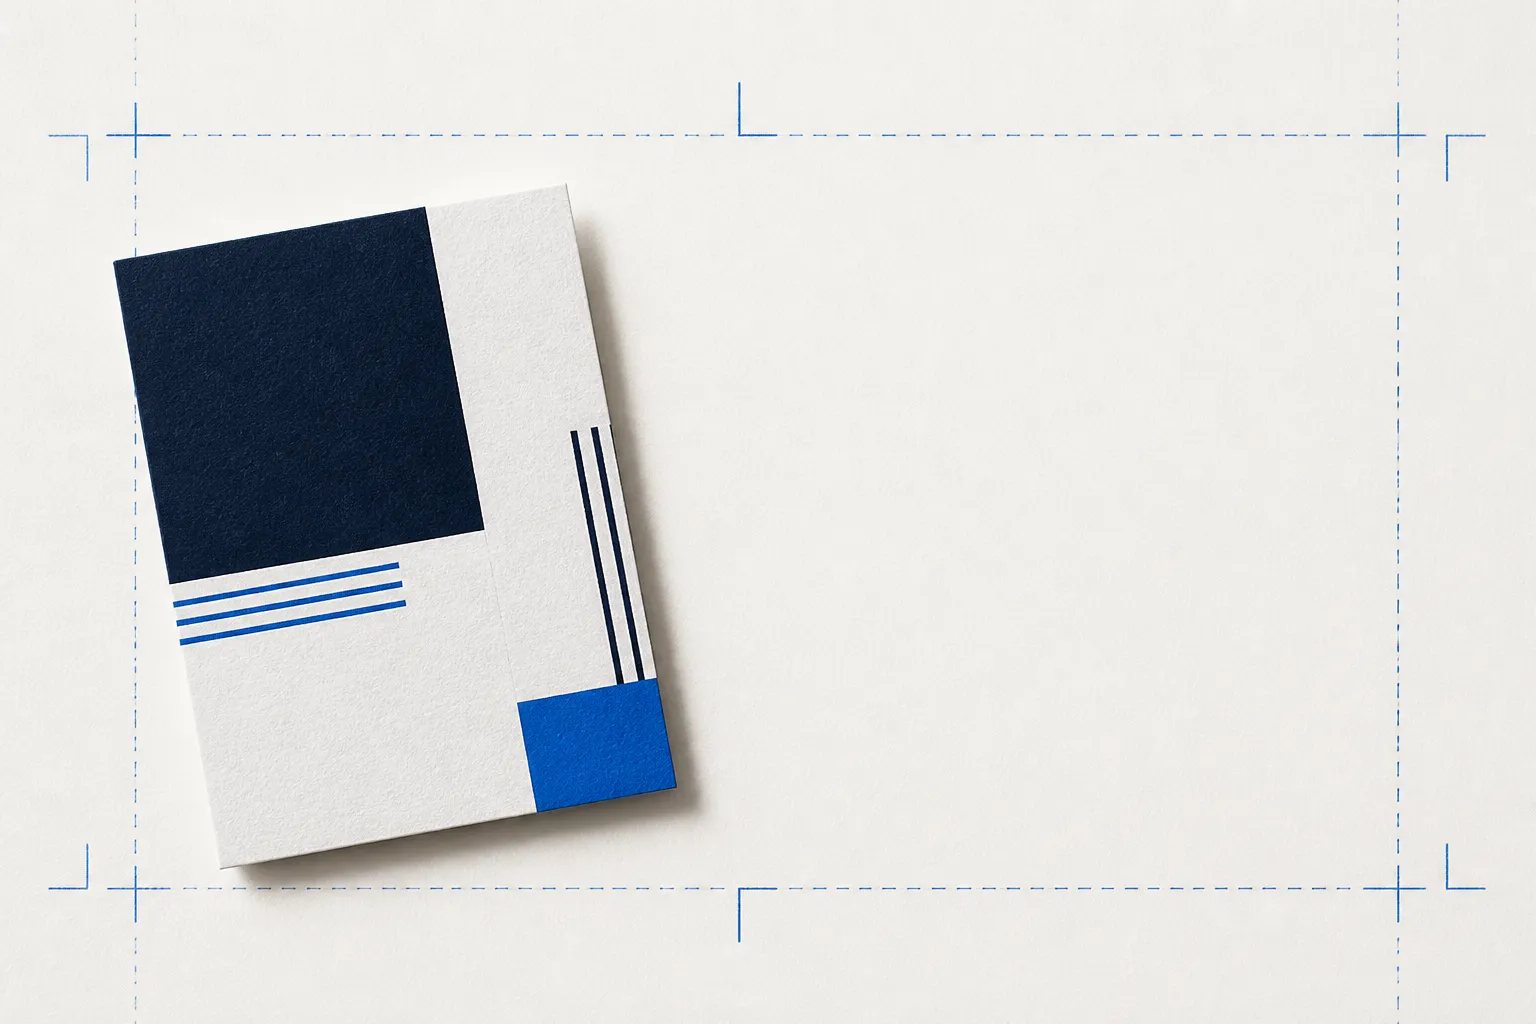
Artwork extended past the cut. If the blade drifts a fraction, color still runs to the edge instead of leaving a white sliver. Standard is 3 mm.
The finished size, and the line the guillotine cuts on. It is your target size: an 85 by 55 mm card trims to exactly that.
A margin inside the trim. Keep text, logos and anything you cannot lose at least 3 mm in from the cut so nothing important is trimmed off.
The single most common file rejection at a print shop is missing bleed. The second is text too close to the edge. This tool exists so both are a non-issue: generate a template to design onto, or drop a finished design and let it add the bleed. For folded and die-cut work, bleed follows the shape, which is covered in what is a dieline.
Standard bleed sizes by product
A quick reference. When a printer hands you a spec sheet, theirs always wins over any general rule.
| Product | Typical bleed | Safe area | Note |
|---|---|---|---|
| Business cards, flyers, postcards, most commercial print | 3 mm (0.125 in) | 3 mm from trim | The default for almost everything on a sheet-fed press |
| US print shops (imperial workflows) | 0.125 in (1/8") | 0.125 in from trim | Same idea, stated in inches |
| Books & booklets (cover and interior) | 3 mm (0.125 in) | 6 mm+ from trim | Wider safe margin near the spine and gutter |
| Large format: posters, banners, signage | 10 to 25 mm | Keep text well inside | Bigger bleed because cutting tolerance is looser at scale |
| Packaging & folding cartons | 3 mm past every dieline edge | Clear of folds and glue | Bleed follows the dieline, not a plain rectangle |
| Roll / die-cut labels | 1.5 to 3 mm | 2 mm+ from the cut | Check the converter spec; small labels use tighter bleed |
More on the numbers: what is bleed in printing, bleed size for business cards, and image resolution for print (the 300 DPI rule).
How to set up bleed in your design app
Every app does it a little differently. Here is the short version for the tools most people use.
- Adobe Illustrator
- File → Document Setup → Bleed, set 3 mm on all sides. Or set it in File → New. Export as PDF with "Use Document Bleed Settings" and marks on.
- Adobe InDesign
- File → Document Setup → Bleed and Slug, set 3 mm. Export to PDF (Print), tick Crop Marks and Use Document Bleed Settings.
- Affinity Designer / Publisher
- Document Setup → Bleed tab, set 3 mm. Export PDF (Press-Ready) with bleed and printer marks.
- Canva
- Canva has no true bleed on the canvas. Design with important content away from the edges, then download as PDF Print with "Crop marks and bleed" ticked (Canva adds the bleed on export).
- Photoshop
- Photoshop has no bleed setting. Make the canvas your trim size plus twice the bleed (for a 3 mm bleed, add 6 mm to width and height), extend the background to the edges, and keep text inside the trim.
- Figma
- Add a frame at your document size (trim plus bleed), extend backgrounds to the frame edge, and keep content inside a trim guide. Export as PDF for the printer.
Step-by-step guides: add bleed in Illustrator and add bleed in Canva.
A clean file is only half the job. The other half is the proof.
Correct bleed stops the two most common file rejections: a white edge at the trim, and text cut off at the border. This tool makes both effortless. But the errors bleed cannot catch are the ones that come from a customer not understanding the finished product: the fold that lands on a logo, the finish they never saw, the panel they skipped.
That is the gap ProofScene is built for: a proof the customer can turn over and actually understand before you print. Bleed is prepress hygiene. Comprehension is where reprints are really won. If you send proofs for sign-off, see online proofing software and how artwork approval prevents reprints.
Bleed and safe area, answered
Short, straight answers to the questions we are asked most. If yours is not here, ask.
Ask us anythingWhat is bleed in printing?
Bleed is extra artwork that extends past the trim line, so that when the printed sheet is cut, there is no risk of a thin white strip at the edge if the blade shifts slightly. The standard is 3 mm (about 0.125 inch) on every side for most commercial print.
What is the difference between bleed, trim and safe area?
Trim is the finished cut size of the piece. Bleed is artwork extended past the trim (add it on all sides) so the color runs off the edge cleanly. Safe area is the margin inside the trim where you keep important content such as text and logos, so nothing critical is cut off. Trim is your target, bleed protects the edge, safe area protects the content.
How much bleed do I need?
For most commercial print, 3 mm (0.125 inch) on each side is standard. Large-format and signage usually want more (10 to 25 mm) because cutting is less precise at large sizes, and packaging bleeds 3 mm past the dieline rather than a plain rectangle. When in doubt, ask your printer for their spec sheet.
What does this tool actually give me?
Two things, both free and generated in your browser. First, a to-scale print template (PDF, SVG or PNG) that shows the bleed, trim and safe area with crop marks and dimensions, in real millimeters or inches, on separate layers you can open in Illustrator. Second, a dropzone: drop your own artwork (PDF, SVG, PNG or JPEG) and it adds a bleed margin and returns a branded, print-ready PDF, checking the resolution for raster files.
Does the PDF really open with layers in Illustrator?
Yes. The PDF uses optional content groups (OCG), which Illustrator, Acrobat and Affinity read as named layers: Bleed, Trim, Safe area, Guides and branding. Open the file directly with File then Open (not Place, which flattens it) and you can toggle or delete any layer. The SVG export uses named groups for the same purpose.
Is my artwork uploaded anywhere?
No. Everything runs entirely in your browser using client-side code. Your files never leave your device, nothing is sent to ProofScene, and nothing is stored. You can use it on confidential work without concern.
Can it fix a low-resolution image?
It cannot add detail that is not there, but it tells you the truth: when you drop a raster image and enter the finished print size, it calculates the effective DPI and warns you if the image will look soft or pixelated. Below 150 DPI is a problem, 150 to 300 is usable but soft, and 300+ is crisp.
What about EPS or AI files?
Browsers cannot read EPS or native AI files safely without a server. Re-save your file as PDF or SVG (every design app can) and drop that instead: those keep full vector scale, so the bleed is added around your artwork at true size.
Set the file up right, then prove it in 3D
ProofScene is opening early access to print shops and product suppliers. Join the list and be first to turn your proof sheets into interactive 3D approvals.
No credit card · Built by print people · Launching soon