Print embellishment: types, tooling and file setup rules
Print embellishment is any finish added to a printed piece beyond the ink: foil, spot UV, metallic ink, embossing and debossing, special laminations and laser engraving. Each one needs its own instruction in the artwork, usually a separate layer in a named spot color that marks exactly where the finish goes, and most need a die, plate or screen made for the job unless a digital embellishment press applies them straight from the file.
Below, each type with what it adds to setup, the file rule for foil and spot UV printing and the rest, and how to let the customer see the finish before anything is made. How each finish comes to life in 3D is in showing spot UV, foil, emboss and varnish digitally.
What are the types of print embellishment?
There are six families: foil, spot UV, metallic ink, embossing, lamination and laser engraving. A job often combines two or three, such as foil and spot UV over a matte laminate. What the customer notices, and what the printer makes before the run:
| Embellishment | What the customer sees | What the printer makes first |
|---|---|---|
| Hot foil | Mirror-bright metal that flashes as the piece tilts | A metal stamping die for each design |
| Cold foil | Metallic shine laid flat, which can be printed over in color | A plate that lays down adhesive on press |
| Holographic foil, hologram patch | A rainbow that shifts with the viewing angle | A stamping die; a custom hologram also needs its own origination |
| Flat spot UV | Clear gloss on chosen areas, flush with the surface | A screen or coating plate, or nothing on a digital press |
| Raised UV | Clear gloss thick enough to feel | A heavy-deposit screen, or a digital inkjet press |
| Metallic ink | A soft metallic sheen, no mirror flash | One more spot ink: a plate, or a screen on plastic cards |
| Embossing, debossing | Relief pressed up out of, or down into, paper and board | A matched male and female die pair |
| Card embossing with tipping | Raised numbers and names, tops in gold or silver | No die: a machine presses each character from the data |
| Lamination | Gloss, matte, frosted or soft-touch over the whole face | On plastic cards, the press plate for the finish; on paper, a film |
| Laser engraving on wood | A burned mark cut into the grain | No tooling: the laser runs from the vector file |
What does each embellishment add to the setup of a job?
Tooling made for one design is the setup cost that matters, because it is made once whatever the quantity. A foil die is the same piece of metal for 500 pieces as for 50,000, so it weighs heavily on a short run and almost nothing on a long one. Ask for tooling on its own line of the quote.
- Dies (hot foil, holograms, embossing): made per design and usually kept for reorders. Magnesium suits short runs; copper and brass last longer and hold finer detail. Any change to the artwork under the finish means a new die.
- Plates and screens (cold foil, metallic ink, spot UV): one more plate or screen and one more unit or pass on press; cold foil also adds make-ready while the foil runs in.
- Digital embellishment: presses that print raised UV and foil straight from the file need no die, plate or screen, so there is no tooling charge to spread over the run. They suit short runs, samples and pieces personalized copy by copy, and the file is set up the same way.
- Per-piece work (card embossing, laser engraving): no tooling, but every card goes through the machine, so time grows with quantity and engraved area.
How do you set up a file for foil, spot UV and other finishes?
Put each finish on its own layer, filled with 100% of one spot swatch used for nothing else, drawn as vectors at the same size and position as the artwork, and set to overprint. Some printers want each finish as a separate page in 100% black instead. Either way the layer is a map: solid where the finish goes, empty elsewhere, with no tints or gradients, and text outlined.
| Finish | How to mark it | Minimums printers publish |
|---|---|---|
| Hot or cold foil | A layer per foil color in a swatch such as Foil Gold | Lines from 1 pt (0.35 mm), text from 10 pt; one printer asks for 2 pt lines and allows 3 mm of movement |
| Spot UV, flat or raised | A top layer in a swatch such as SPOT-UV | Lines 1 mm, reversed lines 2 mm, 2 mm between areas, 3 mm from the trim; registration within 2 mm |
| Metallic ink | The metallic spot itself, such as PANTONE 871 C gold or 877 C silver | As any spot ink; never convert it to CMYK, because the swatch name is the instruction |
| Embossing, debossing | A layer in its own named spot swatch | Lines and the thinnest part of each letter 1 mm, reversed lines 2 mm, 1 mm between elements |
| Card embossing | Characters come from the data file; mark the area and tipping color on the proof | Keep the back clear behind the embossed lines, where the characters push through |
| Lamination | No drawing: write the finish per side in the specification | Not applicable |
| Laser engraving | Solid vector shapes in one color | Test the finest line and smallest text on the chosen wood |
Sources: 4over4 and Tradeprint for foil, Nettl for spot UV and embossing. Use your own printer’s numbers where they differ.
A Proofscene proof sheet writes the same idea as numbered lines, F1 to F8 for the front and B1 to B8 for the back, each a swatch and a label: whatever is drawn in a line’s color on that side gets that finish. The Proof Kit swatches carry names such as PS Hotfoil Gold, PS Raised UV (a see-through blue; add the word flat to its label for flat UV) and PS Embossing, and a factory sheet that just says spot UV or hot stamp is read too.
Worked example: one card with foil, raised UV and a matte finish
A membership card, 85.60 × 53.98 mm, with a gold foil logo, a raised UV pattern on both sides, matte lamination and a magnetic stripe. With 3 mm bleed the document is 91.60 × 59.98 mm and carries:
- Front and back artwork layers, running to the bleed edge.
- A Foil layer: the logo in 100% Foil Gold, overprinting, no stroke under 1 pt.
- A Spot UV layer per side, overprinting, 3 mm inside the trim, 2 mm between shapes.
- A specification line, matte lamination front and back, which the factory reads as its press plate.
- On the back, nothing raised between 2.54 and 19.05 mm from the top edge, so the UV pattern there starts below the stripe zone.
Before sending, hide the artwork and look at the finish layers alone: that is exactly what the die maker and the UV screen receive.
What should embellishments stay away from?
- The magnetic stripe: nothing raised from 2.54 to 19.05 mm below the top edge of the back. See magnetic stripe dimensions.
- The contact chip: foil, UV and ink stay 2 mm clear of the plate (chip position on a card).
- A contactless antenna: keep conductive foil clear of it; see does foil interfere with NFC and RFID cards?
- Folds, glue and the trim: spot UV stays 2 mm from creases and 3 mm from the trimmed edge, and glue areas stay free of UV, foil and laminate.
How do you show a customer an embellishment before printing?
Show it moving under light, because every finish here is judged by how it catches light or casts a shadow, which a flat PDF can only label. Proofscene turns the proof-sheet PDF you already make into an interactive 3D proof with each finish in place, opened on a branded link in any browser with no app or account. Where to see each finish in 3D:
| Finish | Where to see it | What to try |
|---|---|---|
| Gold hot foil on paper | Aurevane casino key carrier | Turn it: foil on both sides |
| Rose gold foil on board | Folia petal wallet | Open it flat |
| Foil and spot UV on your card | Free 3D card mockup generator | Click a color to make it one of ten foils, holographic included, or spot UV |
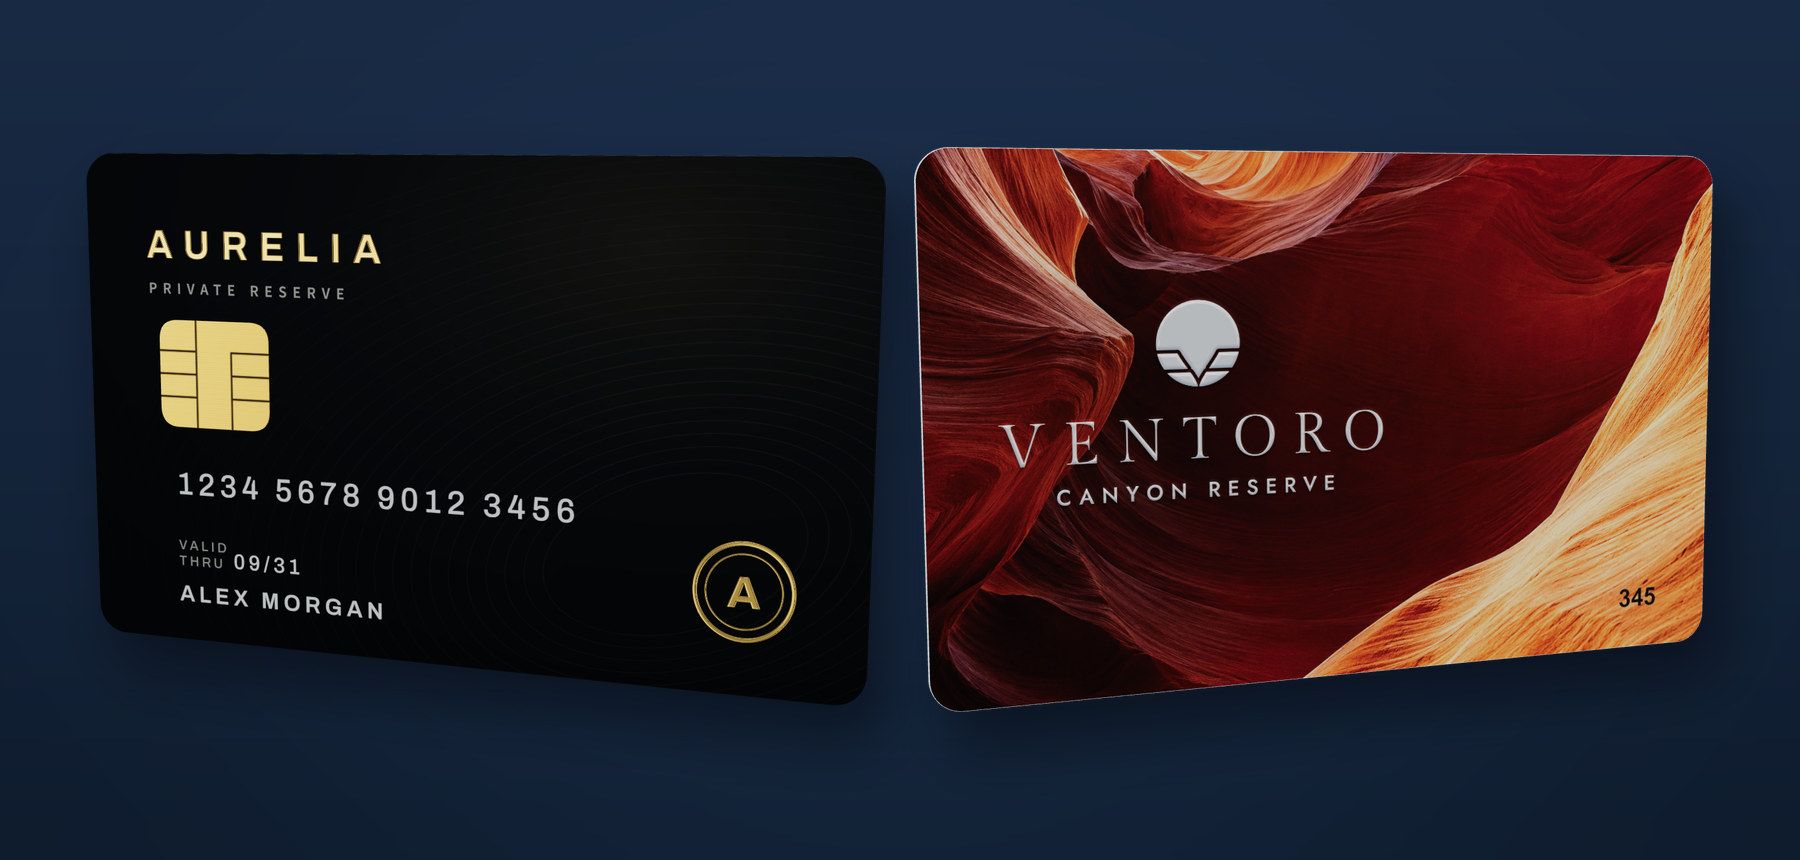
| Gloss, matte, frosted | Ventoro canyon key card; all 9 in the generator | Switch the finish and tilt the card |
| Laser engraving on wood | Alder House cherry key card | Zoom in on the grain |
| Embossing with tipping, raised UV, holograms | The Meridian payment card sheet in the Proof Kit | Drop it into the try-it box on the demo page, free |
Your customer sees every finish on the real product, turning under the light, before a die, plate or screen is made, and approves the premium version with confidence.
See finish and material visualization for each finish on each material, and print embellishment visualization for using 3D proofs to sell finishing upgrades. To try a real job, create a free account: 5 free 3D proofs to start, and more every month.
Related reading
See gloss vs matte vs frosted cards, wooden card engraving proofs and the finish nobody signs off on until it is too late.
What is print embellishment?
Any finish that changes how a printed piece looks or feels beyond the ink itself: foil (hot, cold and holographic), spot UV (flat or raised), metallic ink, embossing and debossing, special laminations and, on wood, laser engraving. Each is marked on its own layer in the artwork so the printer knows exactly where it goes.
What is the difference between hot foil and cold foil?
Hot foil is stamped after printing with a heated metal die made for the design, and gives the brightest metal. Cold foil is laid on press: a printing plate puts down adhesive, the foil sticks only there, and inks can be printed over it in the same run. Hot foil needs a die; cold foil needs a plate and extra make-ready.
Is spot UV the same as raised UV?
Both are a clear, UV-cured gloss on chosen areas. Flat spot UV sits almost level with the surface and shows as a change in shine, strongest over matte. Raised UV, also called dimensional or tactile UV, is laid thick enough to feel, through a heavy screen or by a digital inkjet embellishment press.
Which embellishments can Proofscene show in 3D?
Every one on this page: foils including holographic, raised or flat UV, metallic inks, holograms, CO2 and fiber laser engraving, embossing with gold or silver tipping, and laminations from mirror gloss to frosted, on cards, tags, packaging and carriers, each turning under the light as it will in the hand.